Podman Setup
Podman is a container engine that allows you to create and manage containers. It is a lightweight and easy-to-use container runtime that is based on the OCI (Open Container Initiative) specification. It is a popular choice for developers and system administrators who want to manage containers without the overhead of Docker. Podman is a rootless container runtime, which means that it does not require root privileges to run containers.
Installation
Follow official documentation to get detailed steps on how to install podman across various platforms[1].
For simplicity, this article explains installing podman in wsl and cockpit as a web UI for
podman[2].
Install wsl
-
Install wsl in windows using the below command.
wsl --install -
Update wsl in windows using the below command.
wsl --update -
The above commands automatically installs
Ubuntudistribution in wsl. If not installUbuntudistribution in wsl. -
To find the list of available distributions in wsl, run the below command.
wsl --list --verbose -
Set the default distribution to
Ubuntuin wsl using the below command.wsl --set-default Ubuntu
Install podman
-
Open
Ubuntuin wsl.wsl -d Ubuntu -
Update packages in wsl using the below command.
sudo apt update -
Install podman in wsl using the below command.
sudo apt install podman -y -
Start podman socket using the below command.
sudo systemctl enable --now podman.socketenablemakes the service start automatically when the system starts andnowstarts the service now.
Install cockpit
-
Open
Ubuntuin wsl.wsl -d Ubuntu -
Install cockpit in wsl using the below command.
sudo apt install cockpit cockpit-podman -y -
Start cockpit server using the below command.
sudo systemctl enable --now cockpit.socket -
To check the status of the cockpit server, run the below command.
sudo systemctl status cockpit.socket -
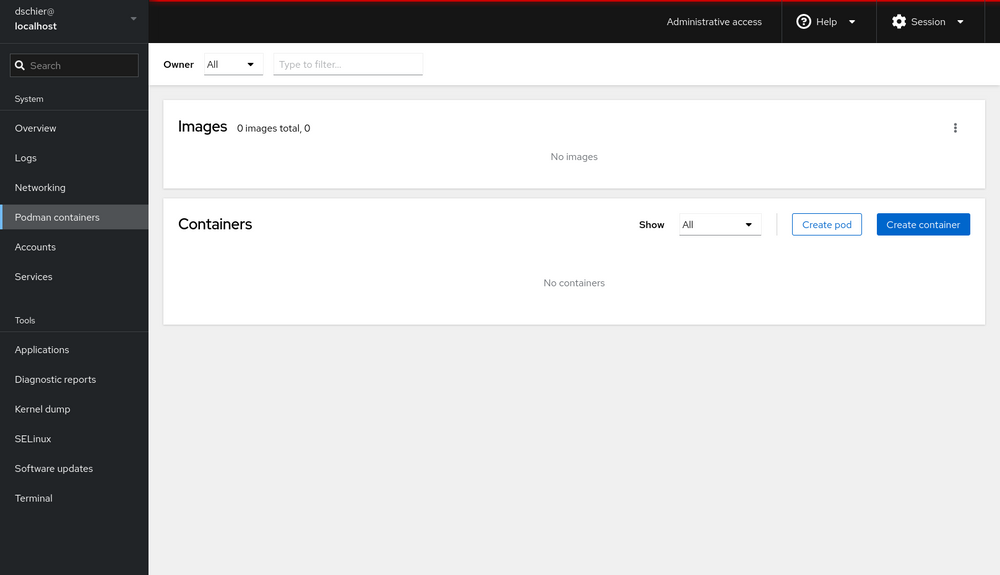
Once the server is started, you can access the cockpit web UI using the below URL.
https://<ip>:9090/. Replace<ip>with the IP address of your system. The default port is9090. The ip address can be found using the following command inside wslhostname -I. -
WSL distribution's
nameandpasswordcan be used to login to the cockpit web UI. Inside cockpit web UI, you can find thepodman container.
Install and Run Portainer
-
Open
Ubuntuin wsl.wsl -d Ubuntu -
Enable podman socket
systemctl enable --now podman.socket -
Create the volume that Portainer Server will use to store its database
sudo podman volume create portainer_data -
Download and install the Portainer Server container
sudo podman run -d -p 8000:8000 -p 9443:9443 --name portainer --restart=always --privileged -v /run/podman/podman.sock:/var/run/docker.sock -v portainer_data:/data docker.io/portainer/portainer-ce:lts -
Once the container is up and running, you can access the Portainer web UI using the below URL.
https://localhost:9443/.
- Used
sudoorrootprivileges becausepodmanis a rootless container runtime. - First time portainer login will ask for
usernameandpassword. Useadminas theusernameandpassword.